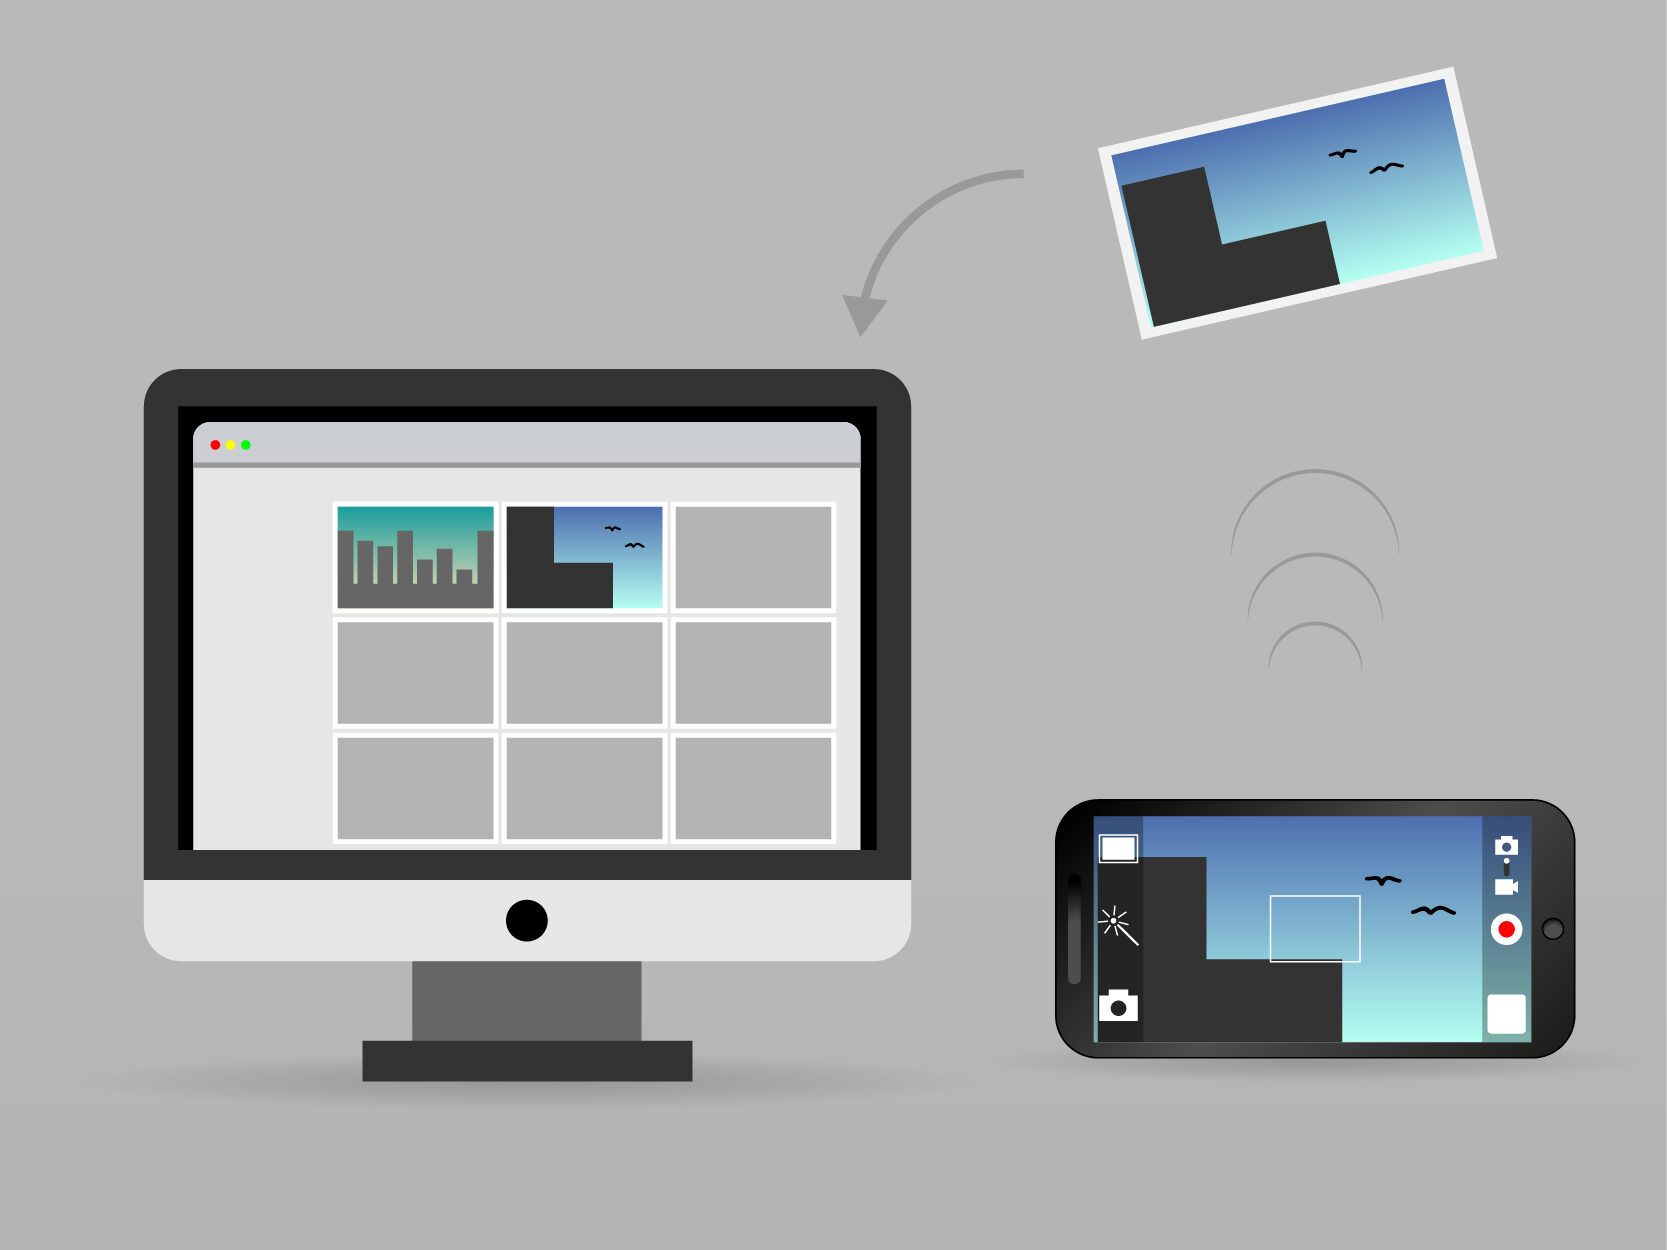
How to Take a Screenshot on Your Mac
I’m going to show you how to take a screenshot on your Mac.
Once you find a screen that you want to take a screenshot of, you’re going to hold down Shift, Command, and the number 3. follow the instruction to take your Mac screen shot.
Press Shift + Command + 3, and then it takes a screenshot of the entire screen.
You can find your screenshots in your Downloads folder in your Mac. go to the Downloads, open it and you’ll see that we have the whole screen there.
Take a Screenshot of the Portion on Your Mac
Now, sometimes you just want a portion of the screen.
To do that, you’ll go Shift, Command, and the number four. So, the same way as before: (Shift + Command + 4). Now you have little crosshairs on your screen. I just want the frog in the middle, so I’m going to draw a box around him. When I let go, it takes a picture of that part. Now, when I open that file, I see just the frog there.
So, there you go, that’s how you take a screenshot on your Mac.
Screenshot Basics
- Default Keyboard Shortcut: Shift Command 3 captures your screen and provides a floating thumbnail at the bottom right.
- Mark Up or Save: Click the thumbnail to mark it up or wait for it to save on your desktop.
Screenshot Keyboard Shortcuts and Options
- Access Settings: Go to System Settings > Keyboard > Keyboard Shortcuts > Screenshots.
- Main Shortcut: Shift Command 5 for full screenshot options and settings.
Tips for Improved Screenshot Workflow
- Skip the Floating Thumbnail
- Uncheck the floating thumbnail option in Shift Command 5 settings to save screenshots directly to the desktop.
- Use the Floating Thumbnail for More
- Click the thumbnail for a preview, mark up, share, or delete it if not satisfactory.
- Save to a Custom Folder Location
- Use Shift Command 5 and choose Options to save screenshots to any folder of your choice.
- Save to a Different Location Each Time
- Save screenshots as a new document in Preview and then save it to any location with any name and format.
- Always Copy to the Clipboard
- Set Clipboard as the default location in Shift Command 5 options or use keyboard shortcuts with the Control key.
- Sometimes Copy to the Clipboard
- Use Shift Command 5 to capture a selected portion and copy it to the Clipboard by pressing Command C.
- Adjustable Selected Area
- Shift Command 5 allows you to adjust the selected area before capturing, unlike Shift Command 4 which immediately captures the selected area.
- Capture with a Delay
- Set a timer in Shift Command 5 to capture elements that are hard to grab otherwise, such as menus.
- Automatically Import Into Photos
- Create a folder action with Automator to automatically import screenshots into the Photos App.
Learn Visually: How to take Screenshot on Mac
Latest Blogs
FAQs about Take a Screenshot on Your Mac
How can I access more screenshot options on my Mac?
To access more screenshot options, use the keyboard shortcut Shift + Command + 5. This brings up the screenshot control bar, allowing you to customize settings and take different types of screenshots.
How can I change where my screenshots are saved?
You can change the default save location by pressing Shift + Command + 5, then clicking the Options button. From there, you can choose to save screenshots to the Desktop, Documents, or any other specified folder.
Is there a way to delay taking a screenshot?
Yes, you can set a timer for taking screenshots by pressing Shift + Command + 5 and selecting the Timer option from the screenshot control bar. You can choose a delay of 5 or 10 seconds, which is useful for capturing menus or other transient elements on the screen


